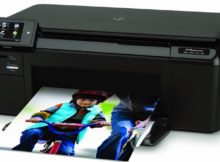
Reset the Printer D110 HP Photosmart
These printers are very good thanks to the quality of all-in-one, with this printer we can scan, print and make copies with good quality thanks to the HP 60 cartridges, both black and tricolor of the same numbers.
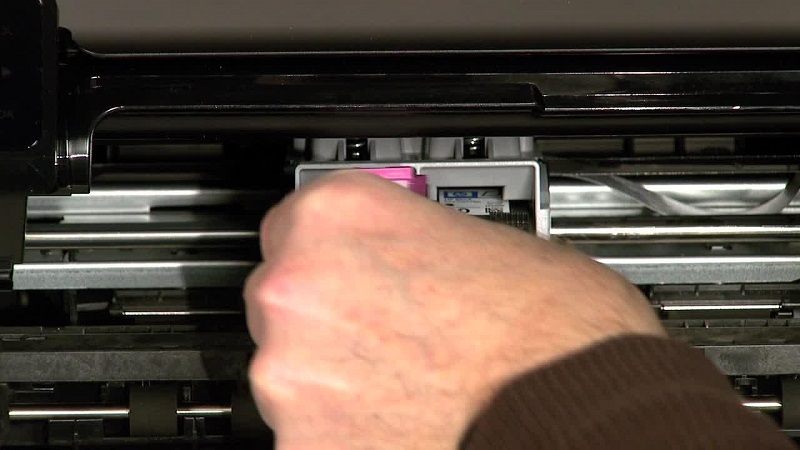
We can refill these cartridges as many times as we want or how long they last, to fill them you can visit how to refill HP 60 black cartridges and how to refill HP 60 tricolor cartridges. There is even a new way to reset the HP 60 ink cartridges with adhesive tape, this always works. The fact is that this publication is to eliminate a reset that is done to the printer in such a way that it does not work, that is, it does not work. let do nothing.
The error says “at least one of the two cartridges is not recognized, it can be black or tricolor” it simply does not let us get to the menu and we cannot do anything. Follow the steps below to try to remove the error. We are located at the front panel of our printer.
- The printer has to be turned on and with it turned on we disconnect the power cable . do this very carefully, you can discount the power cable, both on the printer side and on the electrical outlet on the wall.
- We connect the power cable of our printer again, after it is connected we have to press the power button until the light bulb that is on the top of the power turns on white. It’s a little hard to see but this one.
Next we will do a procedure which will take us to where we can perform the reset, do the procedure very carefully and read well before starting, it is a bit complex but not impossible. To do this, we again go to the front panel shown in the image, and start.
- We press the “Back” button located in the upper left.
- Then we press the “Dash” button in the middle located below “Back”.
- Again we press the “Back” button
- Again we press the “Back” button
- This process will take us to a blue screen where we will find the following options.
- LEFT-UP: MFG
- LEFT-BOTTOM: AUDIT
- RIGHT-UP: REFLASH
- RIGHT-DOWN: MENU
The next step will be to choose “MENU” we give the “OK” button and we will go to another screen, select “NEXT” and for this we select the button with the “X” symbol until we reach “NO PRINT MECH” and press “OKAY”. After all this process, the printer will take a while to work, as if it were analyzing before printing, that is where it will appear on the screen indicating that a test page will be printed, we put a blank page and click “OK” , in all the options that are presented to us.
Ignore any other options, including any errors that may appear, we continue with our process until finished, we click “OK”, when necessary.
Now we will continue with the reset of the EPROM memory of our Photosmart D110 printer.
To reset the EPROM we go back to the main panel of our printer and press the following buttons with the following combination:
- First we press the “BACK” button
- The second button that we will press is “X” this button is in the upper right.
- We press the “BACK” button
- We press the “BACK” button again
- We look in the menu that appears for the option “RESETS MENU” and press “OK”
- We look inside the “RESETS MENU” menu and select the “SEMI-FULL RESET” option and press “OK” now the printer has to be completely reset, again it will ask us to select the language and the initial configuration just like when we use the printer for the first time.
You may also be interested in the manual of this printer in Spanish (pdf), if you are interested you can also download the drivers directly from the page following the steps of how to download the drivers from the HP page.
How to Reset the HP LaserJet M1522NF Printer
The HP LaserJet M1522 MFP Series printers have a phenomenal performance, thanks to its varied functionality such as Fax, Copy, Scanner and printer, it has a 36a toner which has a yield of 2,000 normal A4 pages, prints up to 24 pages per minute letter size, has a high-speed USB 2.0 port and has a flatbed scanner.
The reset consists of performing a restoration of the equipment in all the functions, say that in case our printer has an error due to the use that has been given to it, even if we have put a password to the configuration of our printer, we can eliminate by means of this type of reset, it is an easy and simple procedure.
Keep in mind that there is a possibility that the printer will change its name and the letters (copy 1) will be added after the identification in printer equipment.
To perform a successful reset we have to check that our printer has an error, if so, we perform the cold reset of this printer.
For this we will need to read all the information below.
Step No. 1 We have to turn off the equipment, for this we need to press the turn off or turn on button of our printer, this is located on the back of our printer, it is convenient if you have the documentation at hand, use it. Step No. 2 The next step is to press the button indicated below and the cancel button. Normally the button that indicates possibly cancel is marked with a C . Step No. 3 The next is to turn on the printer with these two buttons we press, we wait for Permanent Storage init to appear on our main screen of the printer. When this message appears we release the buttons. Step #4 When the process ends, the screen of our printer will show Ready or Done. The printer must be reset, and working perfectly, if not, contact us.


Recent Comments